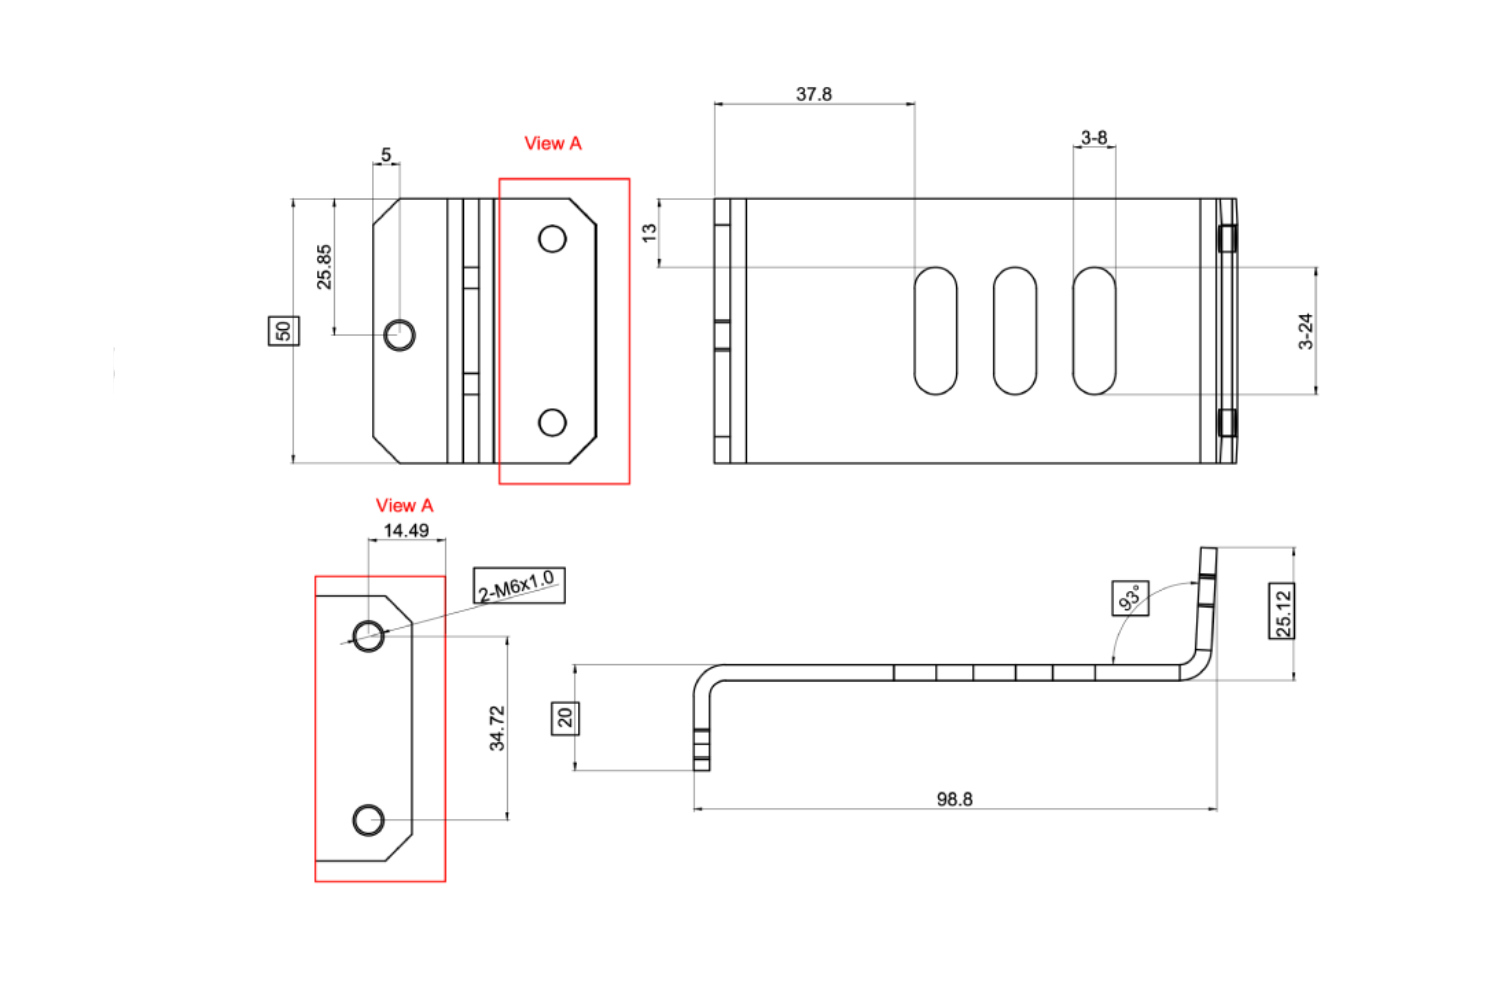
Sheet metal tolerances are primarily focused on material tolerances – the variation in flatness and thickness of raw sheet metal material, and fabrication tolerances – the tolerance built into the different processes used to make sheet metal. Each type of tolerance serves a specific purpose, directly influencing the manufacturing process, assembly, and performance of sheet metal components. This article provides a comprehensive guide to understanding tolerances in sheet metal fabrication.
Material Tolerances
- Thickness Tolerance: It is the allowable deviation in a material’s thickness from its specified or nominal value. It ensures consistency in sheet metal, plates, and other materials.
- Flatness Tolerance: This is the permissible variation from a perfectly flat surface. It ensures that a material or component does not have excessive warping, bowing, or waviness.
Fabrication Tolerances
- Dimensional Tolerance: Is the allowable variation in the size of a fabricated part, including length, width, and hole placements.
- Angular Tolerance: This is the permissible deviation from the intended angle in a fabricated part.
Key Takeaways
- Understanding tolerances in sheet metal parts is key to designing parts and assemblies that will fit together and work as intended
- Understanding process-specific tolerances will help you pick the right process that meets the tolerance needs of your part.
- Material type, preparation methods, and manufacturing processes influence tolerances, particularly for thickness and flatness.
- Working with experienced fabricators who understand the tradeoffs of different processes and how to optimize part design to minimize tolerance stack up makes a big difference in part precision and quality
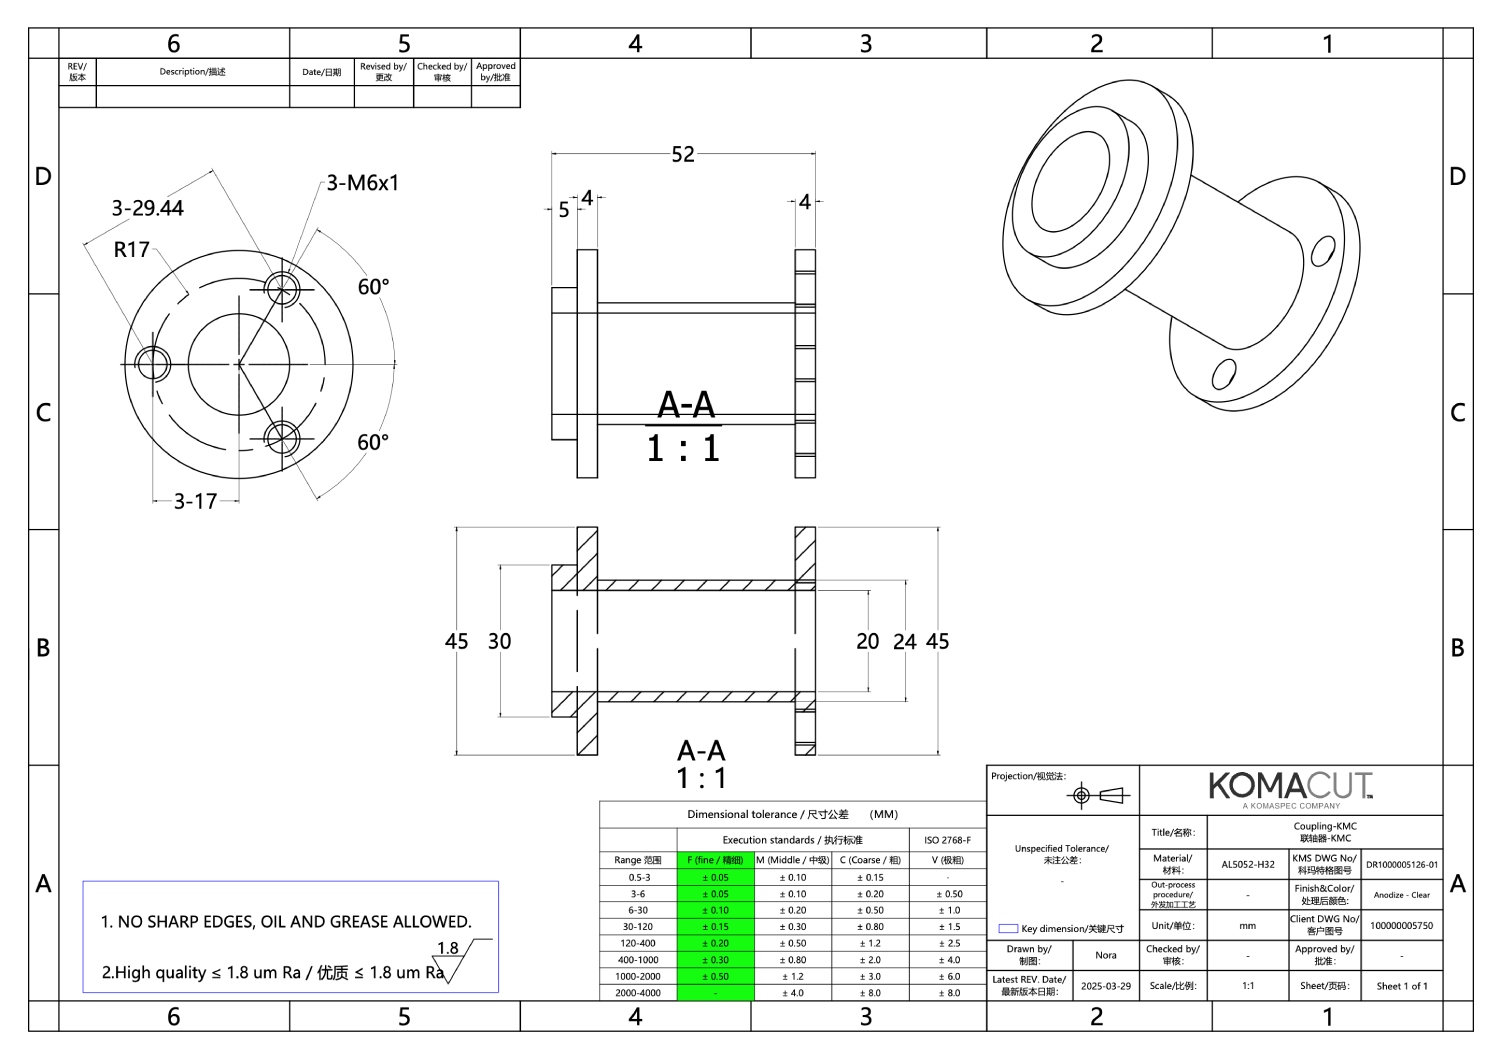
Types of Tolerances
Here’s a list of important types of tolerances generally specified in sheet metal fabrication:
(i) Dimensional Tolerances
Dimensional tolerances are among the most fundamental specifications in sheet metal fabrication, as they govern variations in key parameters like length, width, and diameter. These tolerances ensure that components fit seamlessly during assembly, minimizing the risk of rework or rejection. Standards like ISO 2768 or ANSI Y14.5 provide guidelines on the application of dimensional tolerances.
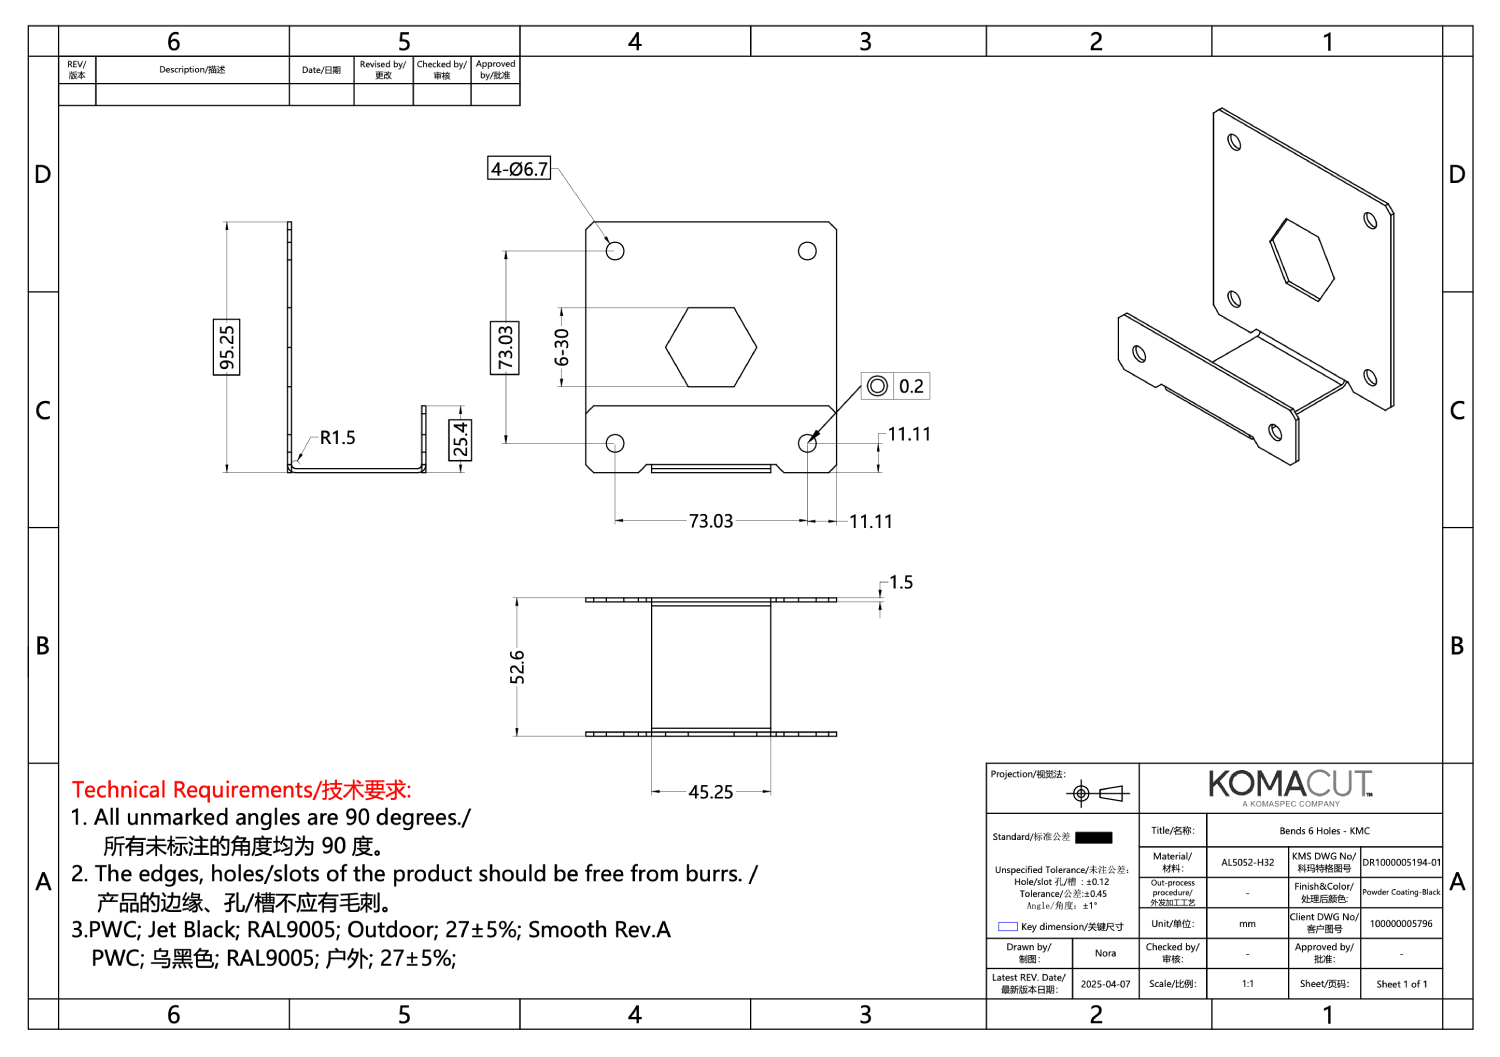
(ii) Angular Tolerances
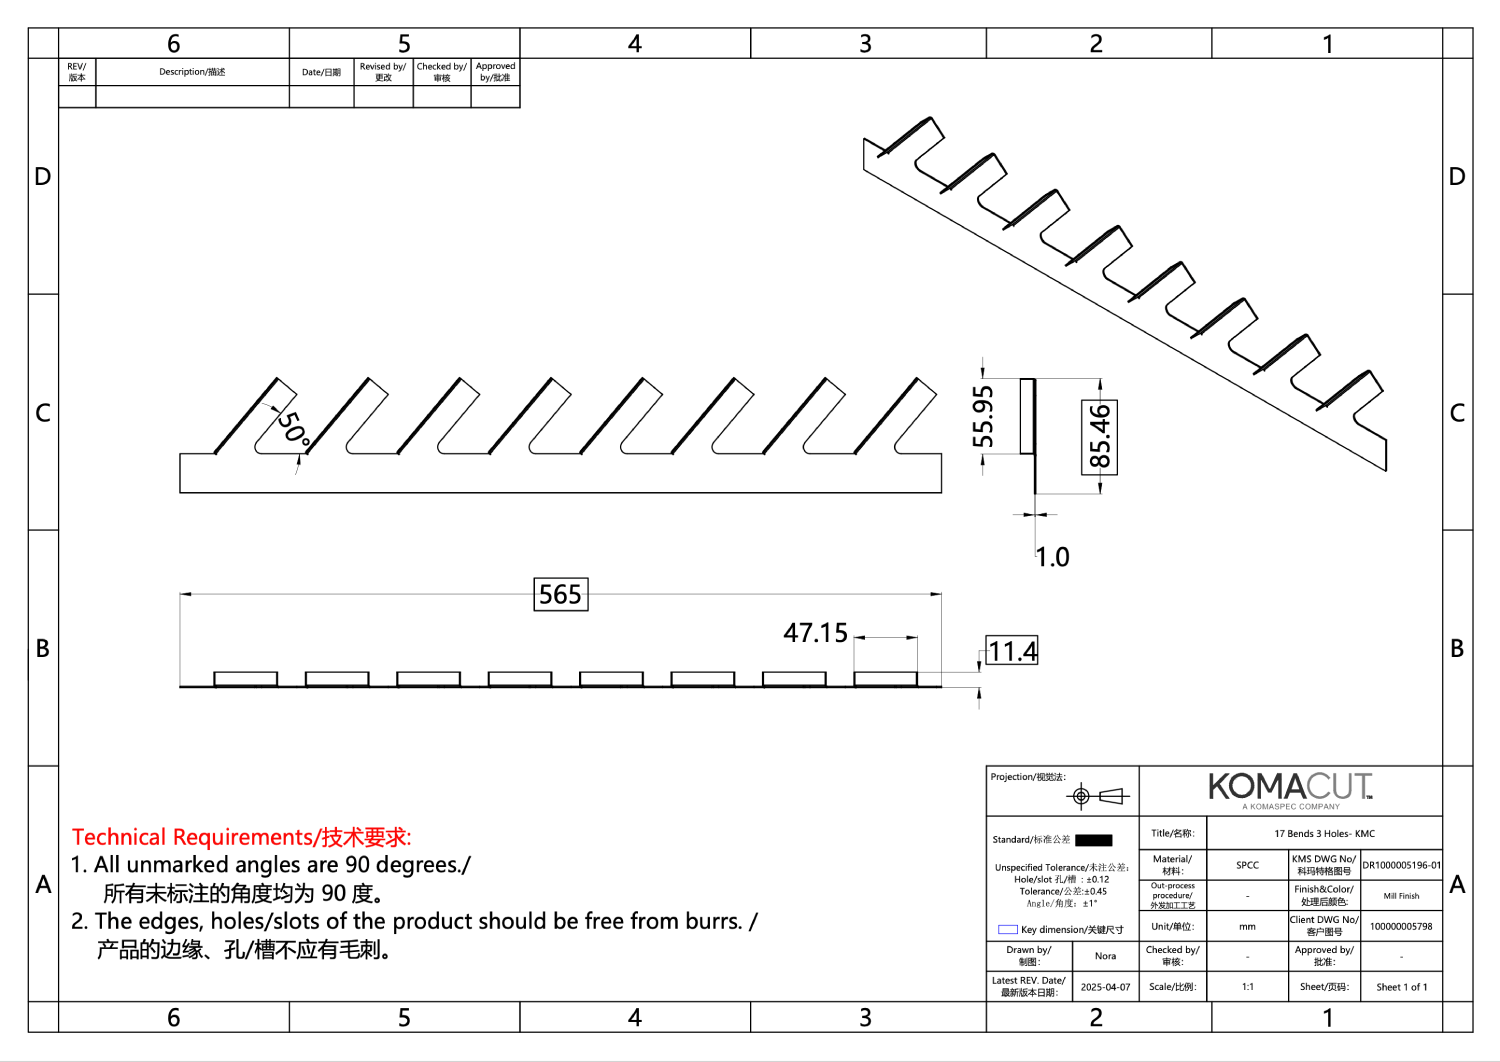
Angular tolerances play a critical role in controlling the allowable variation in angles, particularly in processes like bending and welding. For example, brackets, enclosures, and frames often involve complex geometries, where even slight angular deviations can disrupt alignment or compromise functionality.
Misaligned angles might result in improper fits, stress concentration, or even part failure during operation. Typically, angular tolerances range from ±0.5° to ±1°, though these values may vary depending on the application, material properties, and fabrication method.
In industries such as electronics, where tight assemblies are required for compact devices, tighter angular tolerances are often specified. Conversely, larger angular tolerances may be acceptable for structural components in non-critical applications. Advanced manufacturing techniques, such as CNC bending, help achieve tighter angular tolerances by reducing variability in the bending process.
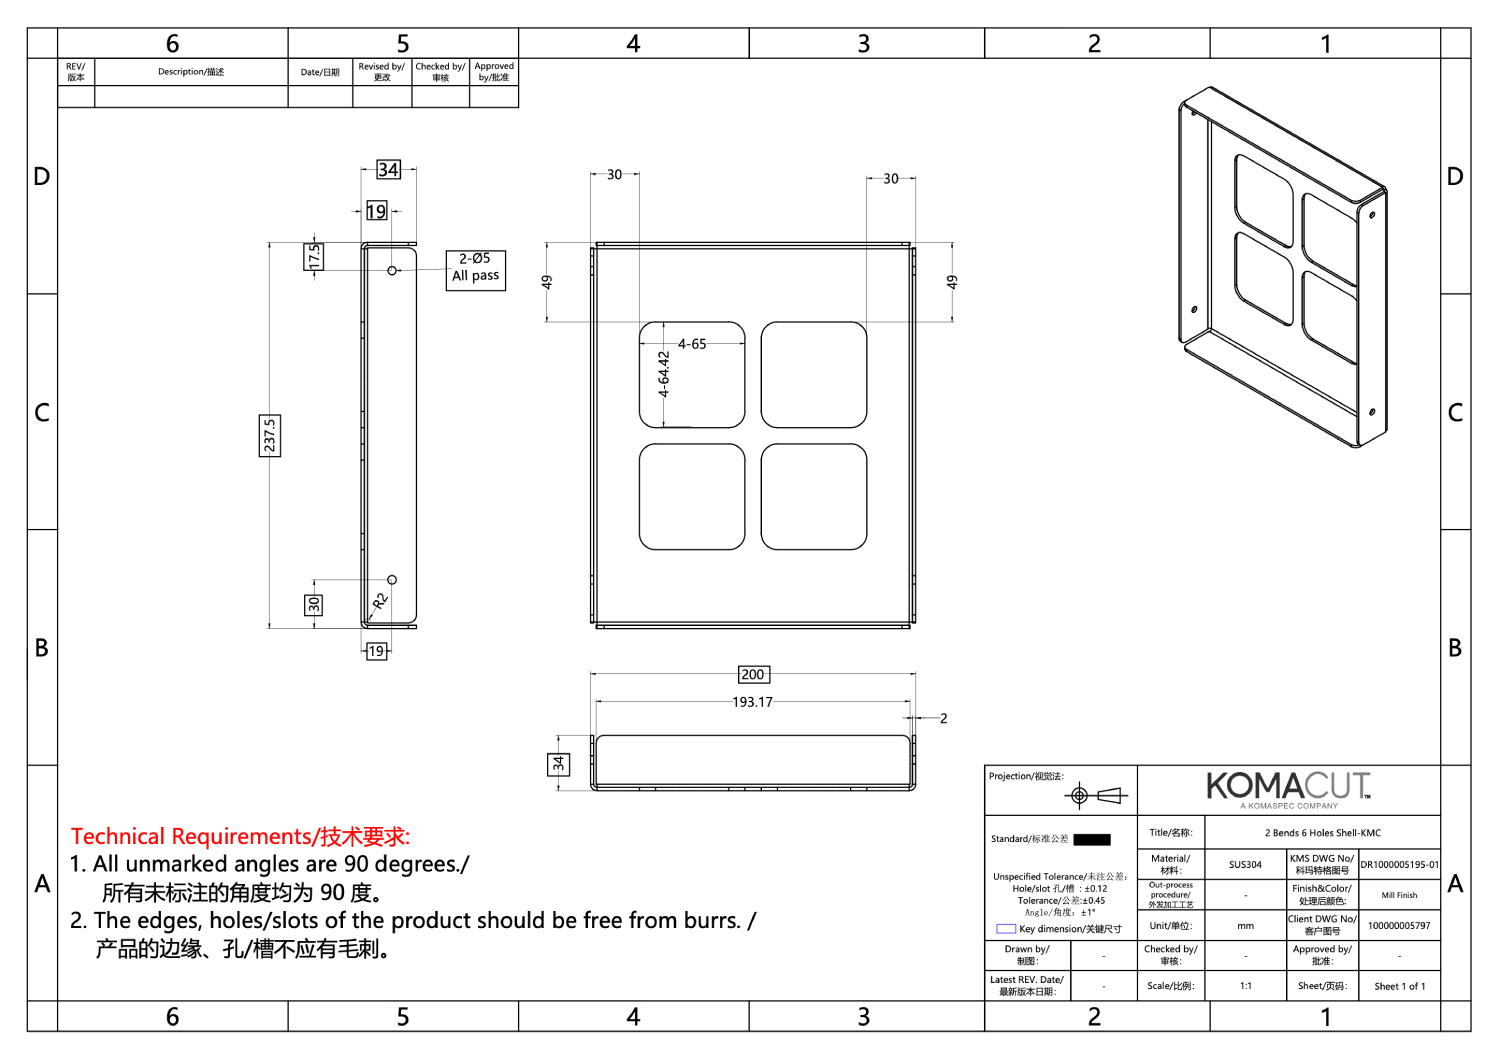
(iii) Thickness Tolerances
Sheet metal material has a built-in variation in tolerance – there is a difference between sheets of metal produced in the same batch or different batches, and there is even a difference in thickness between different portions of the same sheet of metal. This variation is a byproduct of material manufacturing processes like hot-rolling or cold-rolling which are used to make these sheets. These variations can significantly impact the performance of fabricated parts, particularly in assemblies requiring precision.
For instance, in applications involving stack-ups or tight clearances, even a slight deviation in thickness can lead to issues such as uneven load distribution or misalignment.
- Hot-rolled steel: is processed at high temperatures (above 1,700°F or 927°C) to make it easier to shape and form. It has a rough surface finish, lower strength, and higher ductility, making it suitable for structural applications, welding, and general fabrication where precise dimensions are not critical. It typically exhibits larger thickness variations due to its manufacturing process, which involves cooling the material at room temperature, leading to less control over dimensions.
- Cold-rolled steel: on the other hand, is hot-rolled steel that undergoes further processing at room temperature to improve its strength, surface finish, and dimensional accuracy. It has a smoother, harder, and stronger structure than HR steel due to work hardening. It offers tighter thickness tolerances, making it ideal for applications requiring precision.
Comparison between Cold Rolled (CR) and Hot Rolled (HR) steel: CR Steel is stronger, harder, and more wear-resistant than HR steel of the same thickness due to work hardening during processing, making it more durable and rigid under stress. In contrast, HR steel is softer, more ductile, and easier to form and weld but has a rougher surface and lower strength. While CR steel is better for high-stress applications requiring durability and precision, HR steel is more cost-effective and suitable for heavy-duty structures where surface finish and tight tolerances are less critical.
(iv) Flatness Tolerances
Flatness tolerances address the allowable deviation from a perfectly flat surface. This aspect of sheet metal fabrication is critical for applications involving large, planar components like panels, doors, or enclosures. Variations in flatness can arise due to inherent material stresses, processing methods, or handling during fabrication. Such deviations can cause improper sealing, uneven loads, or cosmetic issues, especially in high-precision assemblies.
Achieving tight flatness tolerances often necessitates additional processes like straightening, leveling, or stress-relieving. For example, thinner sheets are more prone to warping during fabrication, while thicker sheets may retain residual stresses from the rolling process.
Addressing flatness deviations early in the production cycle can save time and reduce costs, particularly in industries such as HVAC or electronics, where flat surfaces are critical for performance.
Factors Affecting Tolerances
Here are the factors affecting tolerances in sheet metal fabrication:
(i) Dimensional Tolerances
- Material Consistency: Variations in material properties, such as thickness or hardness, can affect the dimensional accuracy of parts during cutting or forming processes.
- Tooling Precision: The accuracy and wear of cutting tools, punches, and dies directly influence dimensional tolerances. Poorly maintained tools can cause deviations.
- Cumulative Tolerance Build-Up: In assemblies with multiple parts, small dimensional variations can accumulate, leading to significant misalignments or gaps.
- Fabrication Method: Techniques like laser cutting and CNC machining typically offer tighter dimensional tolerances compared to manual cutting or stamping.
- Thermal Effects: Heat from cutting methods like plasma or laser can cause expansion or contraction, impacting final dimensions.
(ii) Angular Tolerances
- Material Properties: Ductility and elasticity of the material affect spring-back during bending, influencing angular accuracy. Softer materials may exhibit greater deviations.
- Bend Radius: Smaller bend radii are more challenging to achieve with consistent accuracy, often requiring advanced tooling or compensation techniques.
- Tooling Precision: Variations in the bending die or press brake alignment can result in angular deviations.
- Multiple Bends: Cumulative angular deviations are common in components with multiple bends, requiring precise control during fabrication.
- Operator Skill: Manual bending processes rely heavily on operator expertise, increasing variability compared to automated processes.
(iii) Thickness Tolerances
- Material Type:
- Hot-rolled steel: Larger thickness variations due to the cooling process after rolling, suitable for non-critical applications.
- Cold-rolled steel: Tighter thickness tolerances due to more controlled rolling and finishing processes, ideal for precision applications.
- Rolling Process: The inherent variability in rolling, especially in hot-rolled materials, contributes to thickness deviations. Factors like mill setup and cooling rate play a role.
- Stacked Assemblies: Variations in thickness can lead to misalignment or interference when multiple layers of sheet metal are stacked.
- Surface Finish Requirements: Applications requiring polished finishes often favor cold-rolled steel due to its consistent thickness and smoother surface.
(iv) Flatness Tolerances
- Material Variations:
- Batch-to-batch inconsistencies in raw materials can lead to differences in flatness.
- Within-sheet variations, like uneven rolling or residual stresses, can cause warping.
- Fabrication Techniques:
- Cutting processes like laser or plasma introduce localized heating, leading to thermal distortion and loss of flatness.
- Stamping and punching operations can create stresses that warp the material.
- Size and Shape of Parts: Larger or irregularly shaped parts are more prone to warping due to uneven material stresses or unsupported areas.
- Improvement Methods:
- Rolling and pressing after fabrication are often used to correct flatness deviations.
- Stress-relieving treatments can also mitigate internal stresses that contribute to warping.
- Material Comparison: Cold-rolled steel typically exhibits better flatness due to its refined rolling process, making it ideal for applications requiring stringent flatness control.
Process Tolerance Tables
1. Sheet Metal Tolerances
| Laser Cutting | Material Thickness | Sheet Bending | ||||||
|---|---|---|---|---|---|---|---|---|
| Linear Tolerances: X.XX |
Hole Diameter Tolerances |
0.5 mm to 2.0 mm |
2.0 mm to 5.0 mm |
5.0 mm to 10.0 mm |
10.0 mm to 20.0 mm |
Angular | XYZ Tolerances |
|
| Standard Tolerances |
+/- 0.45 mm | +/- 0.12mm | +/- 0.05 | +/- 0.10 | +/- 0.25 | +/- 0.50 | +/- 1.0 degree | +/- 0.45 mm |
| High Precision Tolerances |
+/- 0.20mm | +/- 0.08mm | +/- 0.5 degree | +/- 0.20 mm | ||||
2. Aluminum Sheet Thickness Tolerance Chart
| Aluminum | ||
|---|---|---|
| Material Thickness (mm) | Sheet Width < 1000.0 | Sheet Width 1000.0 – 1250 |
| >0.40~0.50 | ±0.03 | ±0.04 |
| >0.50~0.60 | ±0.03 | ±0.05 |
| >0.60~0.80 | ±0.03 | ±0.06 |
| >0.80~1.00 | ±0.04 | ±0.06 |
| >1.00~1.20 | ±0.04 | ±0.07 |
| >1.20~1.50 | ±0.05 | ±0.09 |
| >1.50~1.80 | ±0.06 | ±0.10 |
| >1.80~2.00 | ±0.06 | ±0.11 |
| >2.00~2.50 | ±0.07 | ±0.12 |
| >2.50~3.00 | ±0.08 | ±0.13 |
| >3.00~3.50 | ±0.10 | ±0.15 |
| >3.50~4.00 | ±0.15 | ±0.18 |
| >4.00~5.00 | ±0.18 | ±0.22 |
| >5.00~6.00 | ±0.20 | ±0.24 |
3. Stainless Steel Thickness Tolerance Chart
| Stainless Steel | ||
|---|---|---|
| Material Thickness (mm) | Sheet Width < 1250 | Sheet Width 1250 – 2500 |
| 0.05~<0.10 | ±0.10 | ±0.12 |
| 0.10~<0.20 | ±0.01 | ±0.015 |
| 0.20~<0.30 | ±0.015 | ±0.020 |
| 0.30~<0.40 | ±0.020 | ±0.025 |
| 0.40~<0.60 | ±0.025 | ±0.030 |
| 0.60~<1.00 | ±0.030 | ±0.035 |
| 1.00~<1.50 | ±0.035 | ±0.040 |
| 1.50~<2.00 | ±0.040 | ±0.050 |
| 2.00~<2.50 | ±0.050 | ±0.060 |
| 2.50~3.00 | ±0.060 | ±0.070 |
4. Q235 Carbon Steel Thickness Tolerance Chart
| Q235 | ||
|---|---|---|
| Material Thickness (mm) | Sheet Width 600–1200 | Sheet Width 1200–1500 |
| <1.50 | ±0.17 | ±0.19 |
| >1.50~2.00 | ±0.19 | ±0.21 |
| >2.00~2.50 | ±0.20 | ±0.23 |
| >2.50~3.00 | ±0.22 | ±0.24 |
| >3.00~4.00 | ±0.24 | ±0.26 |
| >4.00~5.00 | ±0.26 | ±0.29 |
| >5.00~6.00 | ±0.29 | ±0.31 |
| >6.00~8.00 | ±0.32 | ±0.33 |
| >8.00~10.00 | ±0.35 | ±0.36 |
| >10.00~12.50 | ±0.39 | ±0.40 |
| >12.50~15.00 | ±0.41 | ±0.42 |
| >15.00~25.40 | ±0.44 | ±0.46 |
5. SPCC Cold Rolled Steel Thickness Tolerance Chart
| SPCC | ||
|---|---|---|
| Material Thickness (mm) | Sheet Width < 1000 | Sheet Width 1000–1250 |
| <0.60 | ±0.05 | ±0.06 |
| 0.60~0.80 | ±0.06 | ±0.07 |
| 0.80~1.00 | ±0.07 | ±0.08 |
| 1.00~1.20 | ±0.08 | ±0.09 |
| 1.20~1.50 | ±0.09 | ±0.10 |
| 1.50~2.00 | ±0.10 | ±0.11 |
| 2.00~2.50 | ±0.12 | ±0.13 |
| 2.50~3.00 | ±0.13 | ±0.14 |
| 3.00~4.00 | ±0.15 | ±0.16 |
| 4.00~5.00 | ±0.18 | ±0.19 |
| 5.00~6.00 | ±0.20 | ±0.22 |
Conclusion
- Each tolerance type—dimensional, angular, thickness, and flatness—is influenced by material properties, manufacturing techniques, and environmental variables.
- The choice of fabrication methods, such as laser cutting or CNC bending versus stamping, rolling, or other options will largely determine the precision of sheet metal parts
- For parts with a very high level of precision, stamping or deep drawing might be required, which CNC bending and laser are optimal for less sensitive parts due to negligible tooling costs and short lead times
