
- Key Takeaways
- What Is a Sheet Metal Prototype?
- How Does a Sheet Metal Prototype Get Made?
- Sheet Metal, CNC Machining, or Metal 3D Printing?
- How Much Does a Sheet Metal Prototype Cost?
- How Long Does It Take to Get a Sheet Metal Prototype?
- Designing a Prototype That's Suitable for Production
- What Changes Between the Prototype and the Production Run
- How to Order Sheet Metal Prototype Parts
- FAQ
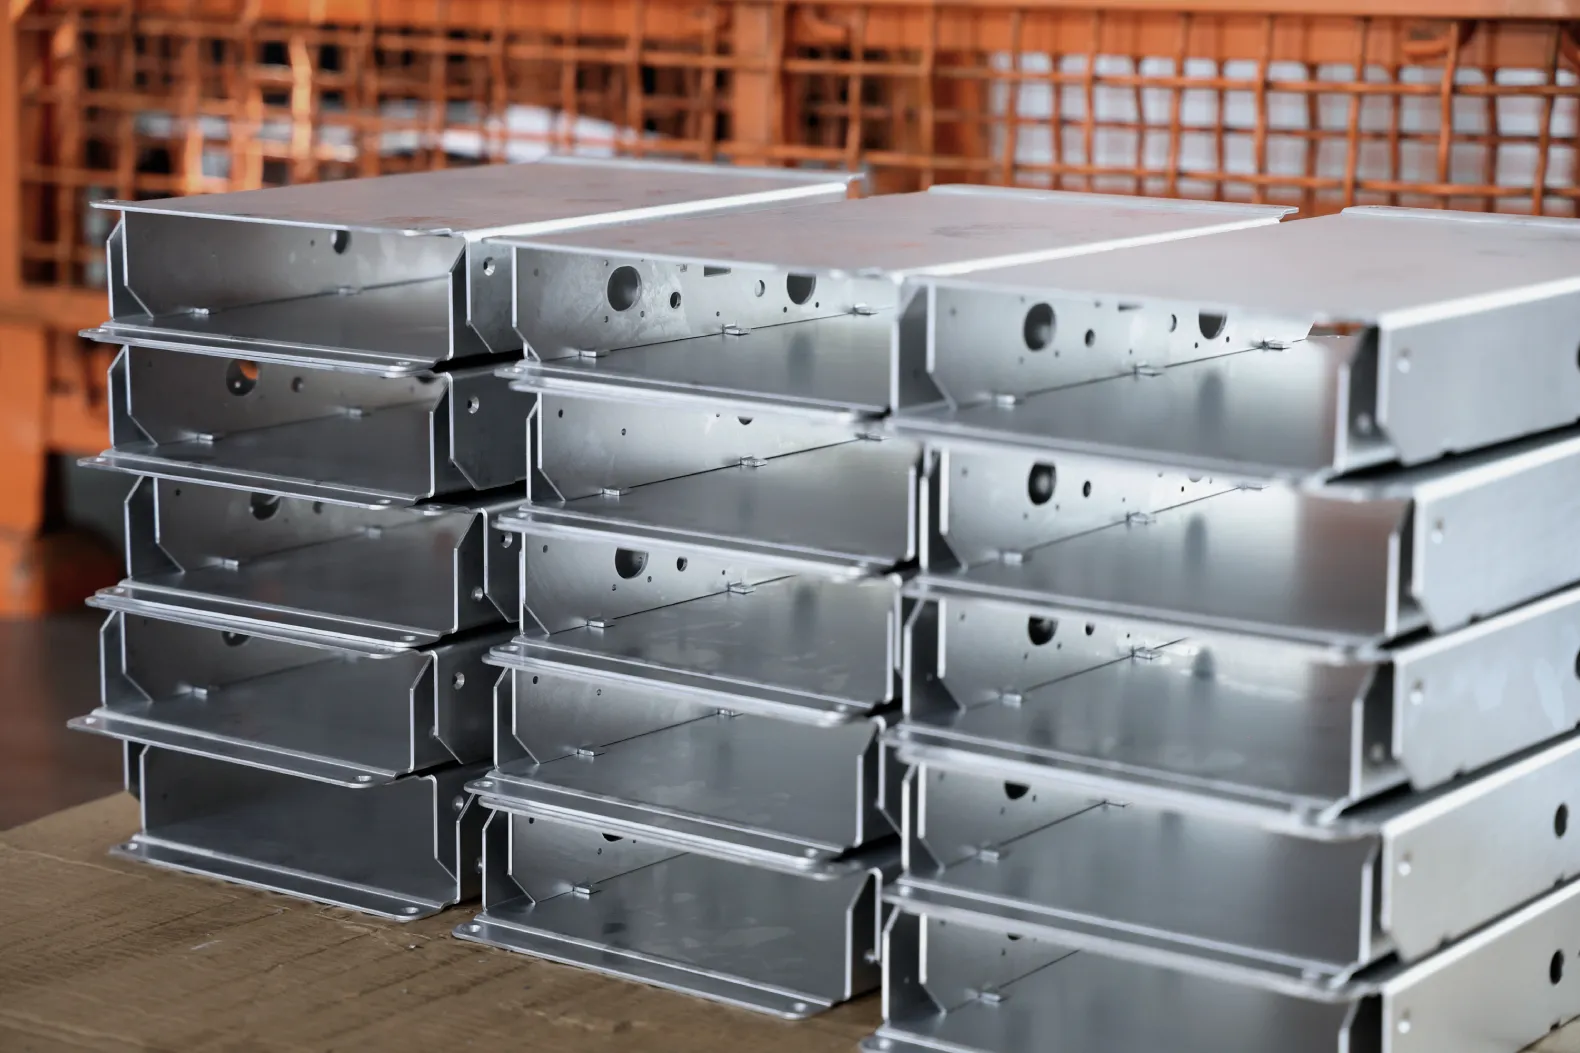
Sheet metal prototyping is the fabrication of a custom metal part in small quantities, usually one to fifty pieces, using the same laser cutting and CNC press brake bending that will make the production parts. Unlike stamping or injection molding, it needs no custom tooling, so the prototype is made from the production alloy and thickness, on the production machines, to production tolerances. The goal is to validate the part and the process before committing to volume.
A sheet metal prototype from Komacut ships in 4 to 15 business days depending on the lead-time tier. Price depends mostly on quantity: on a live quote for a 1.5 mm stainless steel enclosure insert, one piece cost $45.16 and ten pieces cost $12.33 each, because programming, press brake setup, and finishing batch minimums are paid once per order rather than per part. This guide covers how prototypes are made, what they cost, how long they take, and how to design one that still works when the order is 2,500 pieces.
Key Takeaways
Sheet metal prototypes are fabricated using the same methods, materials, and equipment that would be used for a full production run.
Prototypes built by Komacut have a lead time of 4 to 15 business days, depending on the tier selected, at both the China and Mexico facilities.
Timelines can run longer if the design uses hardware the manufacturer doesn’t stock, a sheet thickness they don’t have on hand, or a finish outside the standard set.
A one-off part carries the full setup cost. On a real Komacut quote, the per-unit price of a 1.5 mm stainless enclosure fell 73% between 1 and 10 pieces, and 82% by 100 pieces. Beyond a few hundred pieces, the curve is nearly flat.
Once the prototype is built, changes are usually made to the manufacturing process (custom dies, bending fixtures, enlarging holes after bending) rather than to the design.
Table of Contents
- Key Takeaways
- What Is a Sheet Metal Prototype?
- How Does a Sheet Metal Prototype Get Made?
- Sheet Metal, CNC Machining, or Metal 3D Printing?
- How Much Does a Sheet Metal Prototype Cost?
- How Long Does It Take to Get a Sheet Metal Prototype?
- Designing a Prototype That’s Suitable for Production
- What Changes Between the Prototype and the Production Run
- How to Order Sheet Metal Prototype Parts
- Frequently Asked Questions
What Is a Sheet Metal Prototype?
For most other types of parts, the prototype requires some kind of substitute. An injection molding design might get printed in resin or made with acrylic. Stamped parts might get a laser-cut prototype instead to avoid buying (and potentially needing to replace) a customized die that takes weeks to build and costs thousands.
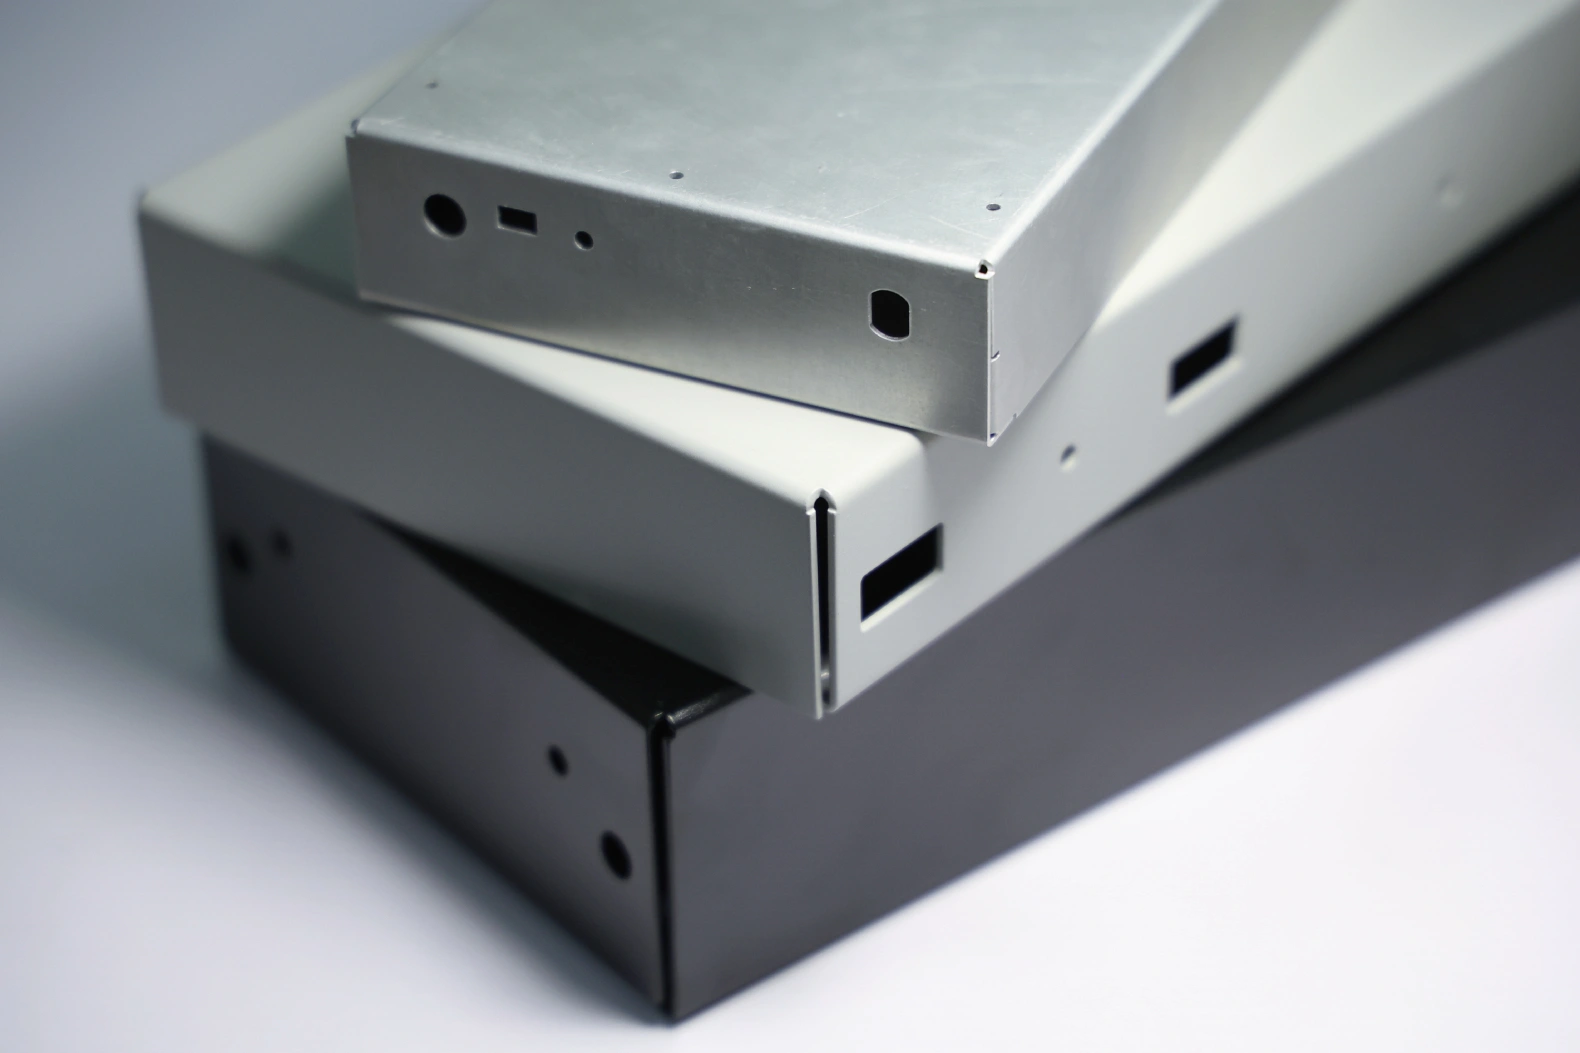
With sheet metal prototypes, no substitutions are required. The manufacturer will use the same fiber laser, same tooling, same press brake, and the same sheet whether they’re building 25 prototypes or running 5,000 units through the line. Every step in the sheet metal fabrication process is done exactly the same. Only the volume changes.
The purpose of the prototype is to identify any potential issues with the build before doing a full production run. With a prototype, the manufacturer can tell whether the fasteners work as intended, whether the finish looks right under the customer’s lighting, or whether an enclosure closes cleanly on its mating part.
How Does a Sheet Metal Prototype Get Made?
The first step is to supply the manufacturer with your design. Komacut accepts STP, STEP, and SLDPRT files and automatically runs a design-for-manufacturing check to flag any features that would cause problems in production.
Once the design is approved, the manufacturer then builds a small number of units (usually between 1 and 50). This follows all the standard production steps, including laser cutting, deburring, forming, tapping, countersinking, installing hardware, and applying the surface finish.
Bending is the step where designs most often fail in practice. That’s because the bend allowance is applied to the flat pattern, not the formed part, so an error there shows up in the finished dimensions. And when a part is formed by air bending, the angle depends on how deep the ram pushes the sheet into the die rather than on pressing the metal against the bottom of it, so there will be some variance in the bend from part to part.
Sheet Metal, CNC Machining, or Metal 3D Printing?
In many cases, customers will try to save time by prototyping brackets or enclosures by 3D printing them or machining them from billet. This works insofar as it will give you a physical mockup of the part, but it won’t do much to help you spot problems before the full production run.
| Criteria | Sheet metal (laser + press brake) | CNC machining from plate | Metal 3D printing (DMLS/SLM) |
|---|---|---|---|
| Same process as production | Yes | Only if the part stays machined | Only if the production part is also printed |
| Material | Production alloy and temper: AL5052-H32, SUS304, SPCC | Production alloy, though wrought plate does not behave like a formed sheet | Alloy powder; properties depend on build parameters and orientation |
| What it verifies | Fit, function, formability, springback, finish | Fit, function, dimensional accuracy | Fit, geometry, complex internal features |
| What it misses | Little, if the prototype is built properly | Bend behavior, grain direction, blank size | Nearly all sheet forming behavior |
If your part will be made from sheet metal, it should be prototyped in sheet metal. 3D printing it will give you a mock-up that looks approximately the same as the finished product, but it won’t test the production process to make sure it goes smoothly. Printing your prototype won’t reveal that one of the holes was placed too close to a bend, because none of the material was actually bent.
How Much Does a Sheet Metal Prototype Cost?
The per-unit cost for a prototype run is higher than it would be for producing the same part at volume, and the gap is widest at the very start. Here is a live instant quote from the Komacut platform for a four-bend stainless steel enclosure insert (1.5 mm, brushed finish, standard tolerances), produced in China:
| Quantity | Price per unit | vs. 1 piece |
|---|---|---|
| 1 | $45.16 | Baseline |
| 10 | $12.33 | −73% |
| 100 | $7.99 | −82% |
| 1,000 | $7.02 | −84% |
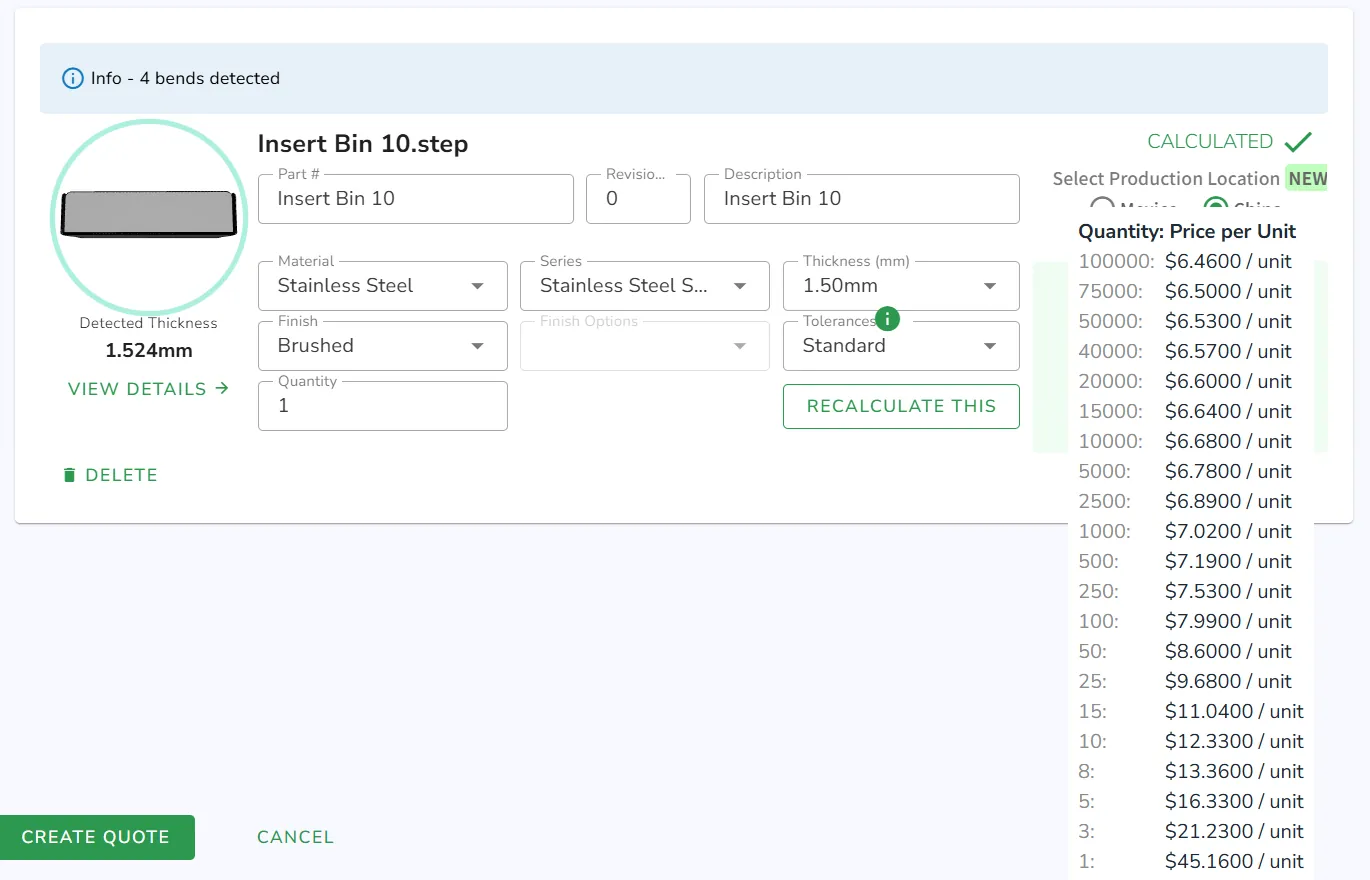
Going from one piece to ten removes almost three quarters of the unit price. Going from ten to a hundred takes off another third. After that, the curve is nearly flat: a thousand pieces cost only 12% less per unit than a hundred.
The same pattern holds on Komacut’s published pricing examples for powder-coated parts at pilot and production quantities:
| Part | 25 pc | 500 pc | 2,500 pc |
|---|---|---|---|
| SUS304, 2.0 mm, powder coat RAL7012 | $10.44 | $6.51 (−38%) | $6.03 (−42%) |
| SPCC, 2.5 mm, powder coat Black Sandtex | $15.53 | $9.37 (−40%) | $8.67 (−44%) |
| AL5052, 1.6 mm, powder coat Pantone 7C | $4.46 | $1.76 (−61%) | $1.57 (−65%) |
One thing you’ll notice is that you’ve already hit nearly the entire cost savings at 500 units. You do save a bit more by moving up to 2,500 pieces, but not much: about four percentage points in each of these examples. You don’t have to commit to high production volumes to get most of production pricing.
With higher volumes, the material cost per piece is more or less the same. The savings come from the fixed costs of setting up a production run, like programming, nesting, and setting up the press brake. Inspections are also done for each order, rather than each part. And surface finishes like anodizing, zinc plating, and powder coating are done in booths or baths that are sized for a rack, which means there are batch minimums for these processes.
So when you’re making a single prototype part, all those one-time costs are paid for by that single unit. But when you’re producing at volume, they’re spread across the entire production run so they don’t have as much of an impact on the cost of each individual piece. If your validation plan has any chance of needing a spare, put it in the first batch rather than reordering later.
There are also two specifications that will make a prototype run more expensive.
The most common one is opting for high precision on every dimension of your design when it isn’t needed. To see why that matters, consider Komacut’s figures. Our standard laser tolerance is ±0.45 mm linear and ±0.12 mm on hole diameters. If you move up to high precision, those tolerances tighten to ±0.20 mm and ±0.08 mm. Making sure those tolerances are met means more inspection and more scrap, which translates to a higher price.
The other is asking for a color or finish that isn’t part of the standard set. A non-standard finish has to be sourced instead of running through the standard line, which can ratchet up your quote.
How Long Does It Take to Get a Sheet Metal Prototype?
It depends on the manufacturer. With Komacut, both facilities use the same four-tier system, with lead times ranging from 4 to 15 business days.
| Tier | Lead time |
|---|---|
| Standard | 15 business days |
| Expedite | 10 business days |
| Express | 7 business days |
| Very Fast | 4 business days |
There are three things that commonly add time to a prototype job at any fabricator.
The first is specifying a finish that has to go through a separate finishing line, such as powder coating, zinc plating, or anodizing. Each one adds a process step, and a batch, to the schedule.
Second is specifying hardware that isn’t in stock. Having to source and wait for screws, nuts, or standoffs that aren’t on hand can delay the start date.
And the third is the type of sheet metal needed. Komacut holds raw materials in more than 80 SKUs, but sheets that fall outside the thicknesses we carry have to be ordered in.
None of this affects the committed date. When you select a lead time, we get it done within that timeframe, and the same standard applies to both the China and Mexico facilities.
Shipping time should also be taken into consideration. If you’re getting your prototype from overseas, it might take more than two weeks to get to you, even if it was built in just four days. If your part is destined for North America, getting it from our Ciudad Juárez facility will be worth it on transit alone. If your part falls under USMCA, it will clear duty-free and can go out for next-day delivery via FedEx International Priority in the US (1 to 3 working days into Canada, or 7 to 10 days on LTL freight if you’d rather save on shipping).
The Mexico facility does quote higher per unit. The same stainless enclosure insert above comes to $61.81 for one piece and $13.27 at 1,000 from Ciudad Juárez, against $45.16 and $7.02 from China. Whether that premium is worth paying comes down to how much the shorter transit and duty-free entry are worth on your project, and you can compare both locations side by side on the same quote before deciding.
Designing a Prototype That’s Suitable for Production
Here are steps that will improve the odds that your design will hold up when you move from prototype to full production.
Lock the Material and Temper Before the First Order
To a purchasing system, AL5052-H32 and AL6061-T6 are both just “aluminum.” They bend very differently. Our bending guidance states that 6061 sheet will start cracking at a 120° bend. And we follow ASTM B209 designations because the alloy number and temper suffix together indicate how the sheet will behave. Without that temper suffix, you don’t have a clear indication of how the sheet will act on the press brake.
Be sure to lock the thickness of the sheet as well. If your design was validated on 1.5 mm sheet but will be produced using 1.6 mm, then you’re dealing with a material that has a different stiffness, bend allowance, and flat pattern than the one used for the prototype.
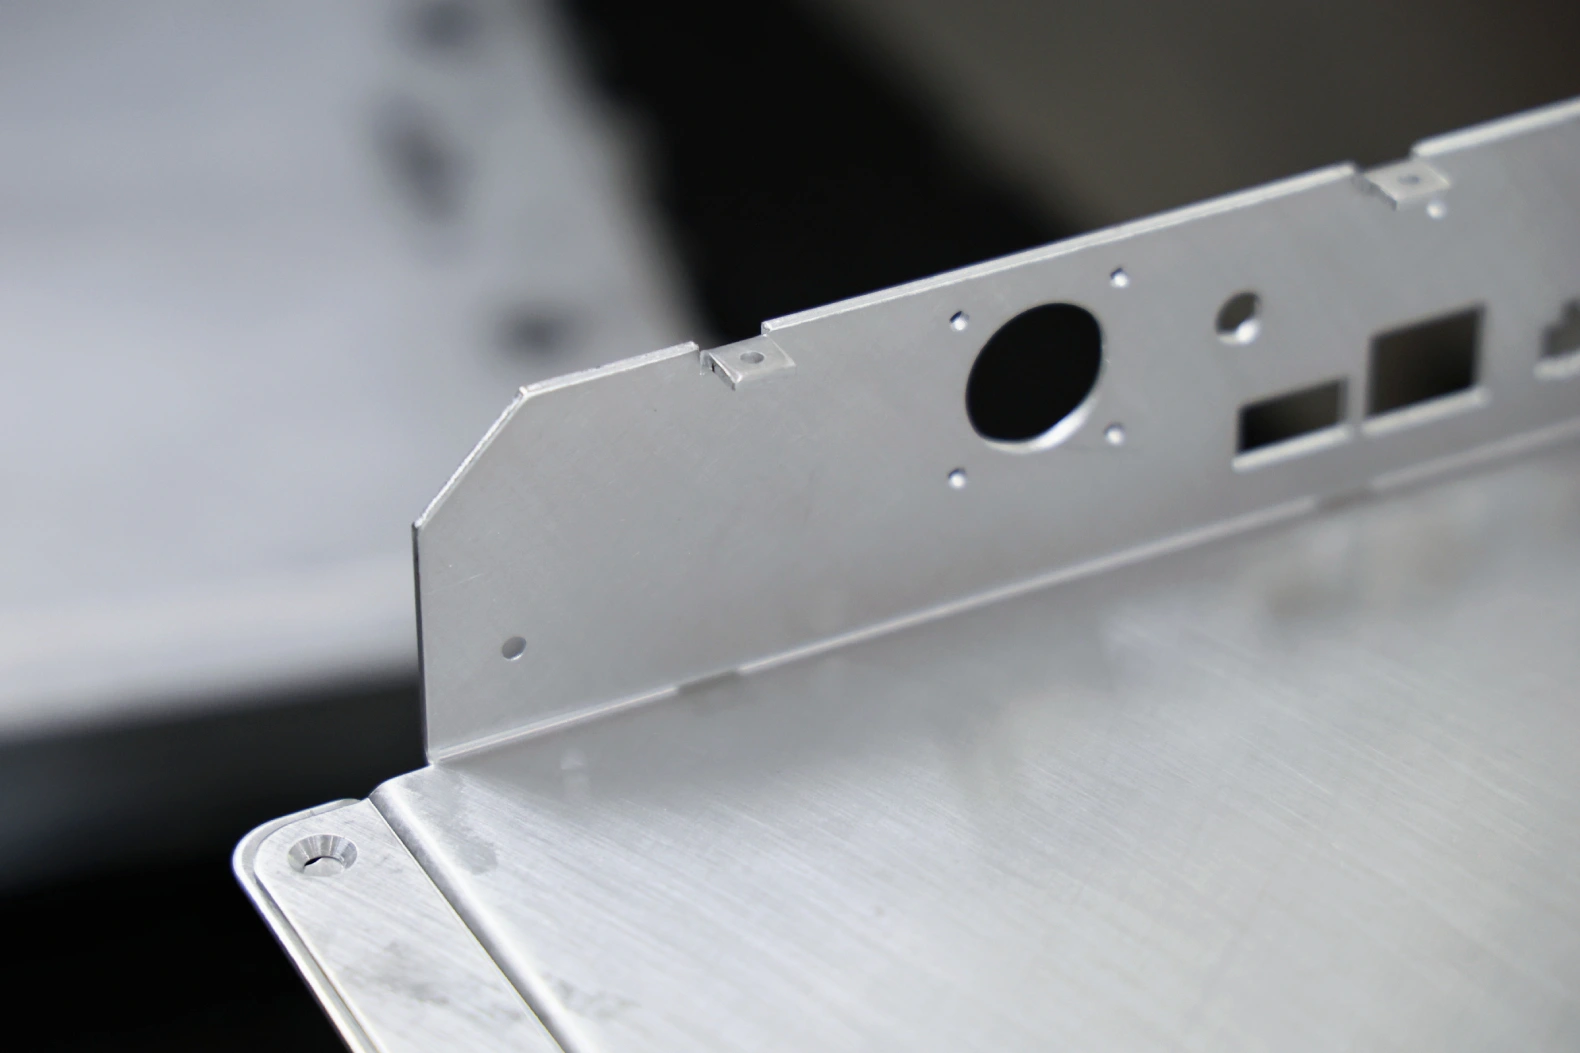
Keep Holes and Features Away From Bends
Geometry that just meets the clearance limit might get through prototyping fine but result in avoidable defects and scrap once the part is in production. Give a bit of added room where possible.
For specific features, you can use the figures in Komacut’s design rules:
| Feature | Rule |
|---|---|
| Minimum hole diameter | 0.6 × T for 0.5–10 mm material; 0.4 × T for 10–20 mm |
| Hole to bend | 2 × T + R for holes under 25.4 mm; 2.5 × T + R at or above 25.4 mm |
| Hole to edge | ≥ 2 × T |
| Hole to hole | ≥ 5 × T |
| Bend radius | ≥ material thickness |
| Bend to edge | 2.5 × T + R |
| Corner fillet | ≥ 0.5 × T |
| Hems | Only where T ≤ 2 mm, inside diameter ≤ 2 × T, return length ≥ 4 × T |
| Countersink depth | ≤ 0.6 × T |
(T = material thickness. R = inside bend radius.)
A hole that sits just inside the 2 × T + R limit will usually be fine on the prototype, but will cause intermittent problems when you’re manufacturing the part at volume. It doesn’t always get caught at low volumes because where the material yields varies from sheet to sheet. So it’s best not to take chances, and to place holes where they’ll come out right every time.
Decide the Cosmetic Faces Before the Pilot Run
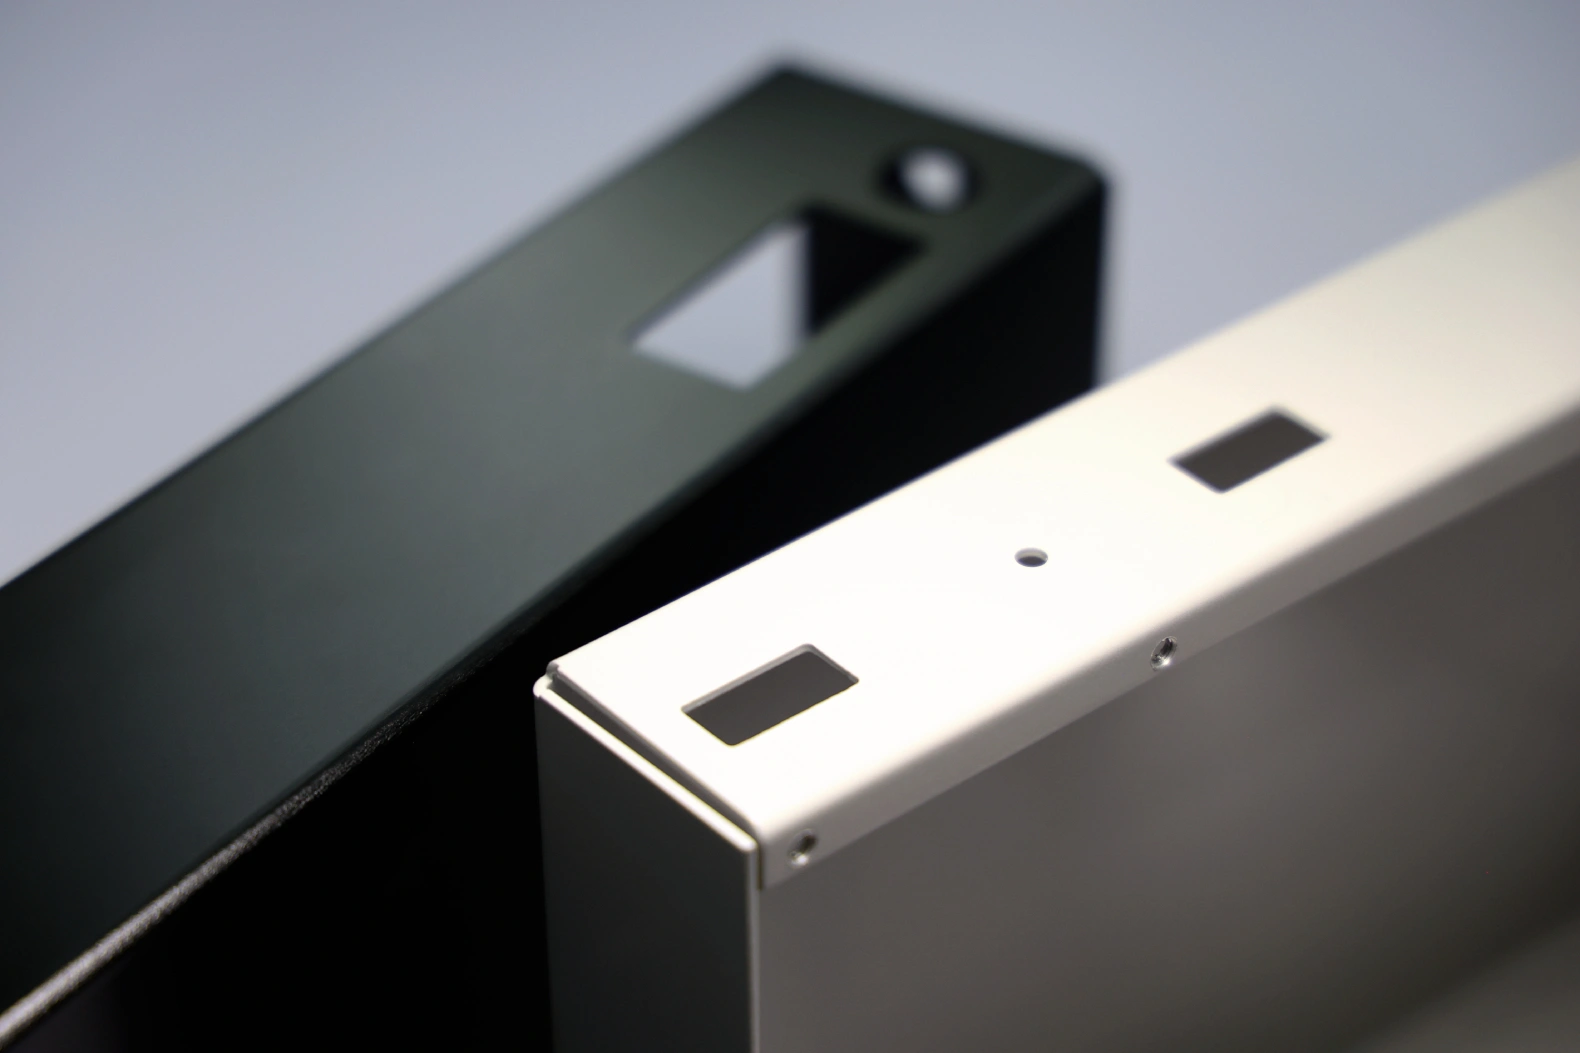
Mark every cosmetic face on your drawing, even at the prototype stage. Tooling marks or scratches don’t matter on a part that never ships to a customer. But make sure the manufacturer knows where marks will and will not be acceptable on the final product. That way, they can note whether any cosmetic problems arise from the production setup.
What Changes Between the Prototype and the Production Run
The part and design generally stay the same, but the process may be adjusted. Komacut’s engineering team names three changes that come up repeatedly when a part moves from prototype to production.
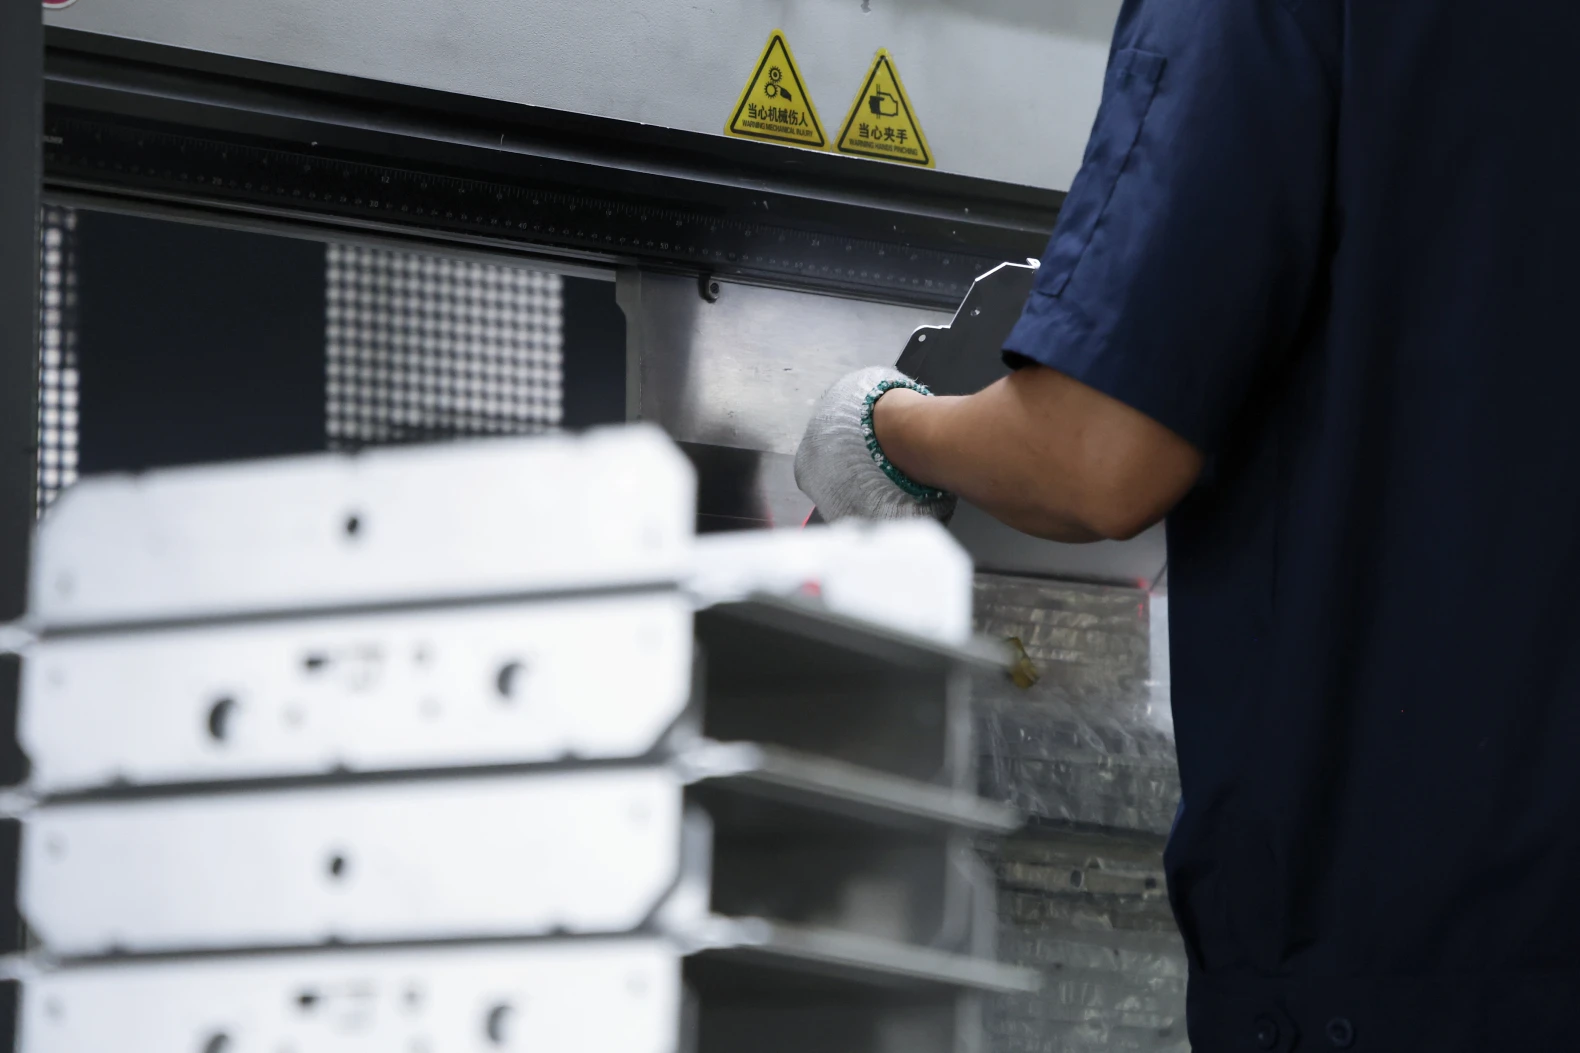
Bending fixtures. With a prototype, confirming the bend factor is enough to verify the dimensions of the flat pattern. But once you move to production, unsupported bending might not hold the required tolerance consistently, so a simple fixture is designed to hold the part while it’s formed.
Enlarging holes after bending. Flat patterns on prototype parts are calculated from an internal K-factor. This is expedient and saves time and money. But at volume, holes that are close to a bend edge might distort. Instead of reopening the design, the fix is to add an operation: enlarge the hole after the part has been formed, instead of cutting it to final size in the flat sheet.
Building custom bending dies. In some cases, standard tooling might struggle to get the geometry right or leave heavy press marks on a cosmetic face. That’s acceptable for the prototype, but in production it may require a simple custom die, which Komacut designs and manufactures in-house.
These problems show up when air bending at volume because the springback on a given part depends on the sheet’s actual thickness and yield strength, which may differ from the nominal values listed on the material certificate. According to a study in the Journal of Manufacturing Processes, the steel they tested was guaranteed only to a thickness variation of ±5%, and the spread across different lots was enough for the measured springback to deviate from the predicted amount. Press brakes with adaptive angle measurement, like LVD’s Easy-Form Laser system, mitigate this by correcting the bend as it happens.
Basically, a single prototype sheet will show you how that single sheet behaves. A larger production run will introduce variance between sheets, and the part’s tolerances have to fit within that variance.
A good supplier will propose custom dies and fixtures to resolve these issues during the pilot stage. But a supplier that gives you a quote based on prototype pricing and then discovers these problems down the line is going to surprise you with an added expense mid-run.
How to Order Sheet Metal Prototype Parts
Upload the model for your enclosure, bracket, or chassis in STP, STEP, or SLDPRT format. In about 30 seconds, you’ll get an automated quote and DFM review.
Get quotes for prototyping and production in the same session. The price list shows every quantity break from 1 piece up, so you can see both costs before you commit to anything.
There is no minimum order quantity and we ship the finished part, not a cut blank. The same order covers cutting, bending, tapping, hardware, and the surface finish.
No MOQ, 1 Piece and Up
Price your prototype and production run in one quote
Upload your STEP or SLDPRT file to see DFM feedback and the per-unit price at every quantity break, from a single prototype to full production.
Frequently Asked Questions
How Much Does a Sheet Metal Prototype Cost?
Per unit, more than production volumes. Each run carries one-time costs (programming, press brake setup, finishing batch minimums, inspection) that are the same no matter how many pieces you order. On a Komacut quote for a 1.5 mm stainless enclosure, one piece was $45.16 and ten pieces were $12.33 each. By 1,000 pieces, the price was $7.02.
How Fast Can You Get a Sheet Metal Prototype?
It depends on the supplier. From Komacut, it takes 4, 7, 10, or 15 business days depending on the tier you select, and the committed date holds. If the prototype requires a non-standard finish, or hardware or sheet that isn’t kept in stock, choose a tier that leaves room for sourcing time.
Can I Order Just One Sheet Metal Part?
Yes. Sheet metal is cut on a laser, so there’s no custom hard tooling to pay for. That’s why Komacut has no minimum order quantity on sheet metal parts. One-unit orders are common, but adding a few more pieces costs far less per unit than the first one, because the setup costs are the same regardless of volume.
What File Format Do I Need for a Sheet Metal Prototype Quote?
Upload your design in STP, STEP, or SLDPRT. For a more accurate quote, build your model as a sheet metal body with defined bends (not a generic solid). That way, the system can unfold the flat pattern and quote the real blank size. If all you have are 2D drawings, Komacut’s 3D CAD drafting service converts them for a flat $15 per drawing.
How Do I Move a Sheet Metal Prototype Into Production?
Keep the drawing fixed and don’t change the thickness, alloy, or temper of the sheet. If anything needs to be modified, it should be the manufacturing process, not the design. Order a pilot batch of 25 to 50 pieces before committing to full volume, since that’s where batch-to-batch issues first show up.